After a night of little sleep, my 5:50 AM alarm goes off, for today I had a morning lecture in the National Glass Center (NGC) focused around providing inspiration and content for blogging. However, knowing what was coming today, a lack of sleep wasn’t going to kill my enthusiasm, nor was the freezing weather or the downpour I could hear hammering on the window.
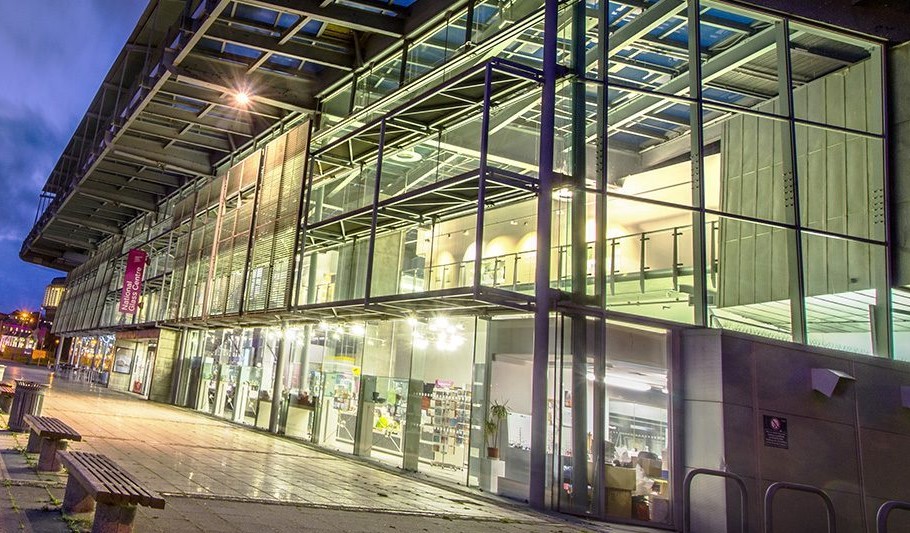
For context: The NGC is located just west of the St. Peter’s campus of Sunderland University and is, in their own words, dedicated to “continuing the legacy of glass making, supporting and nurturing new glassmaking talent through UoS’s Glass & Ceramics degree program, and fostering enthusiasm/understanding of the material through rich & varied exhibitions and learning/participation programs”. This is a lot of language which boils down to a lot of amazing talent, both new and established, excellent and engaging exhibitions, and demonstrations from the talented teams of artists and lecturers from the university.
The lecture I mentioned earlier was slightly different to the usual; instead of the standard work-based lecture, we got an amazing opportunity to work with clay, making sculptures and objects, as well as pyrography, which for the uninitiated is using molten glass to draw, or create images/art, on paper (yes, that’s exactly as cool as it sounds: or should I say hot?).
After a brief introduction from Colin, our module lecturer, and an introduction to clayworking by a student named Mary, we got to work. We all started off by using a piece of wire, similar to a garrote wire, to cut off a sizeable chunk from the large mounds of clay we were given to work with. The brief for our two week task: Create a sculpture of something that is significant to you, which will then be fired in a kiln and turned in to a ceramic piece. For this, I decided to choose a camera. Why? Cameras are how we take snapshots of the most important points in our life, the images they take often being important or sentimental to us for one reason or another. Perhaps taking a slight liberty with the task, but this wasn’t a problem.
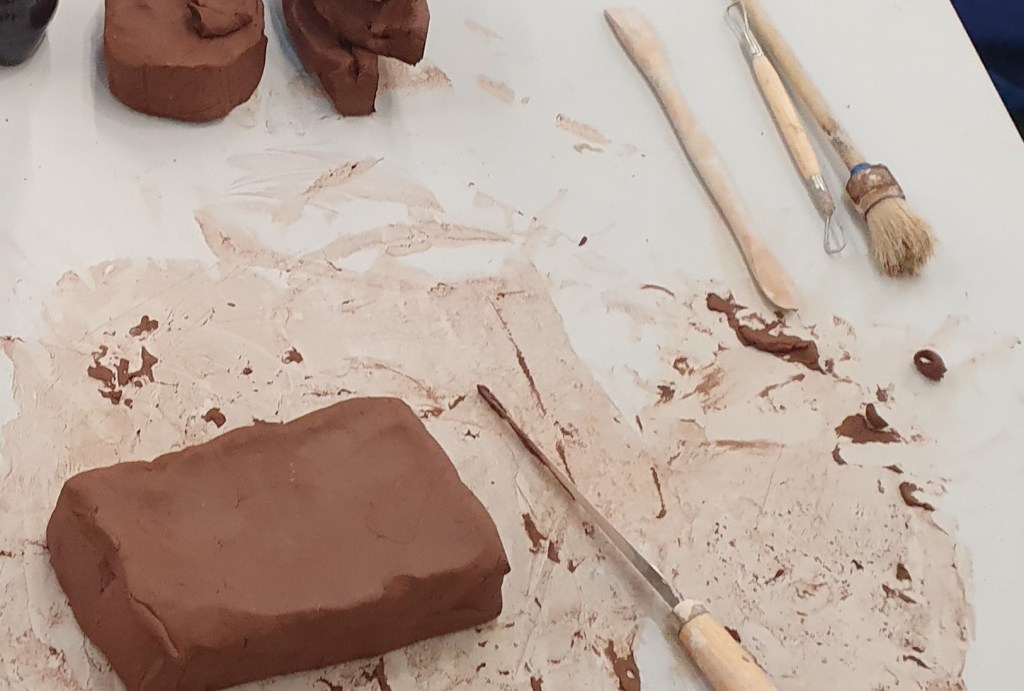
To start off with, I carved my rather blobby chunk of relatively wet clay down to a cube using a knife and some gentle tapping on the table, resulting in a relatively smooth cuboid which could then be built on, though I wasn’t as happy with the overall look of the block so far.
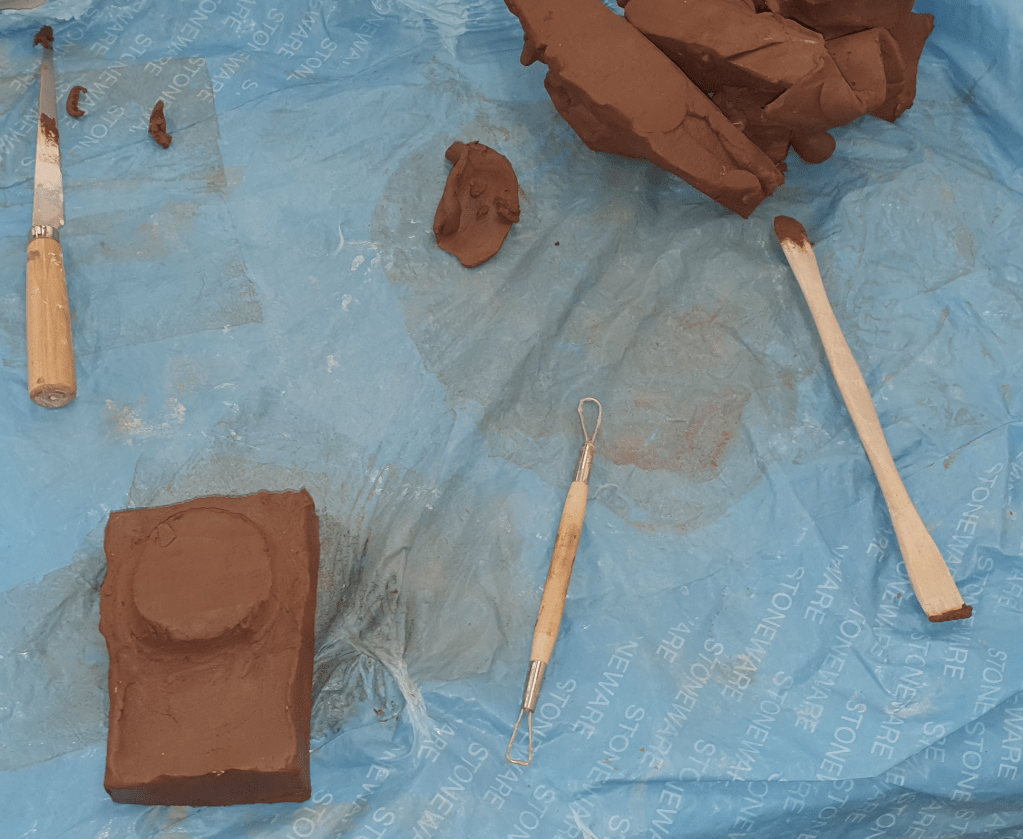
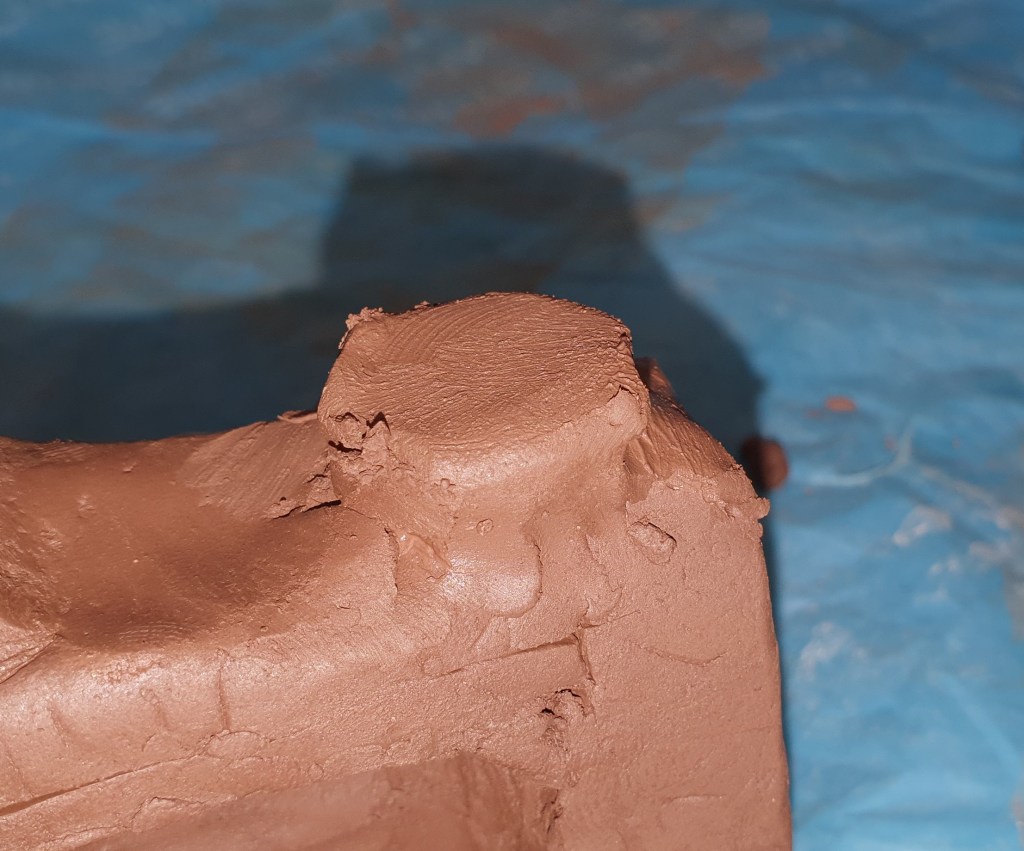
Next, I decided to further square off the block; I then made a rudimentary ‘lens’/lens mount to give the block some form. In my opinion, not too bad for the first time working with clay; much less making a circle, which I historically suck at! I was already pretty messy by this point, but in a way that I didn’t really mind.
Slurry time! After some further refinement, I decided to add a small flash housing on to the piece. While not required, I decided to use slurry (a wet clay) to attach it in order for it to meld better, essential for kiln firing. To use slurry you need to cut grooves in both surfaces that you want to bond, and then push them together!
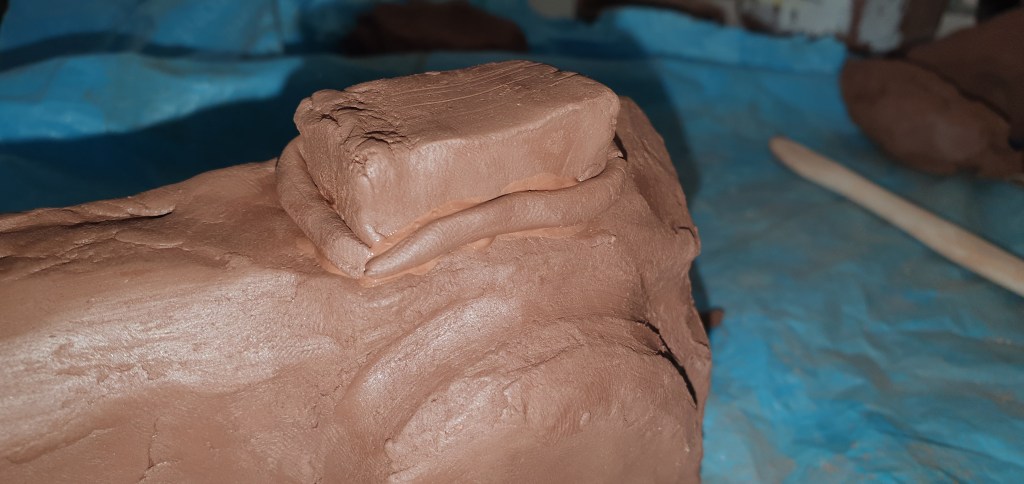
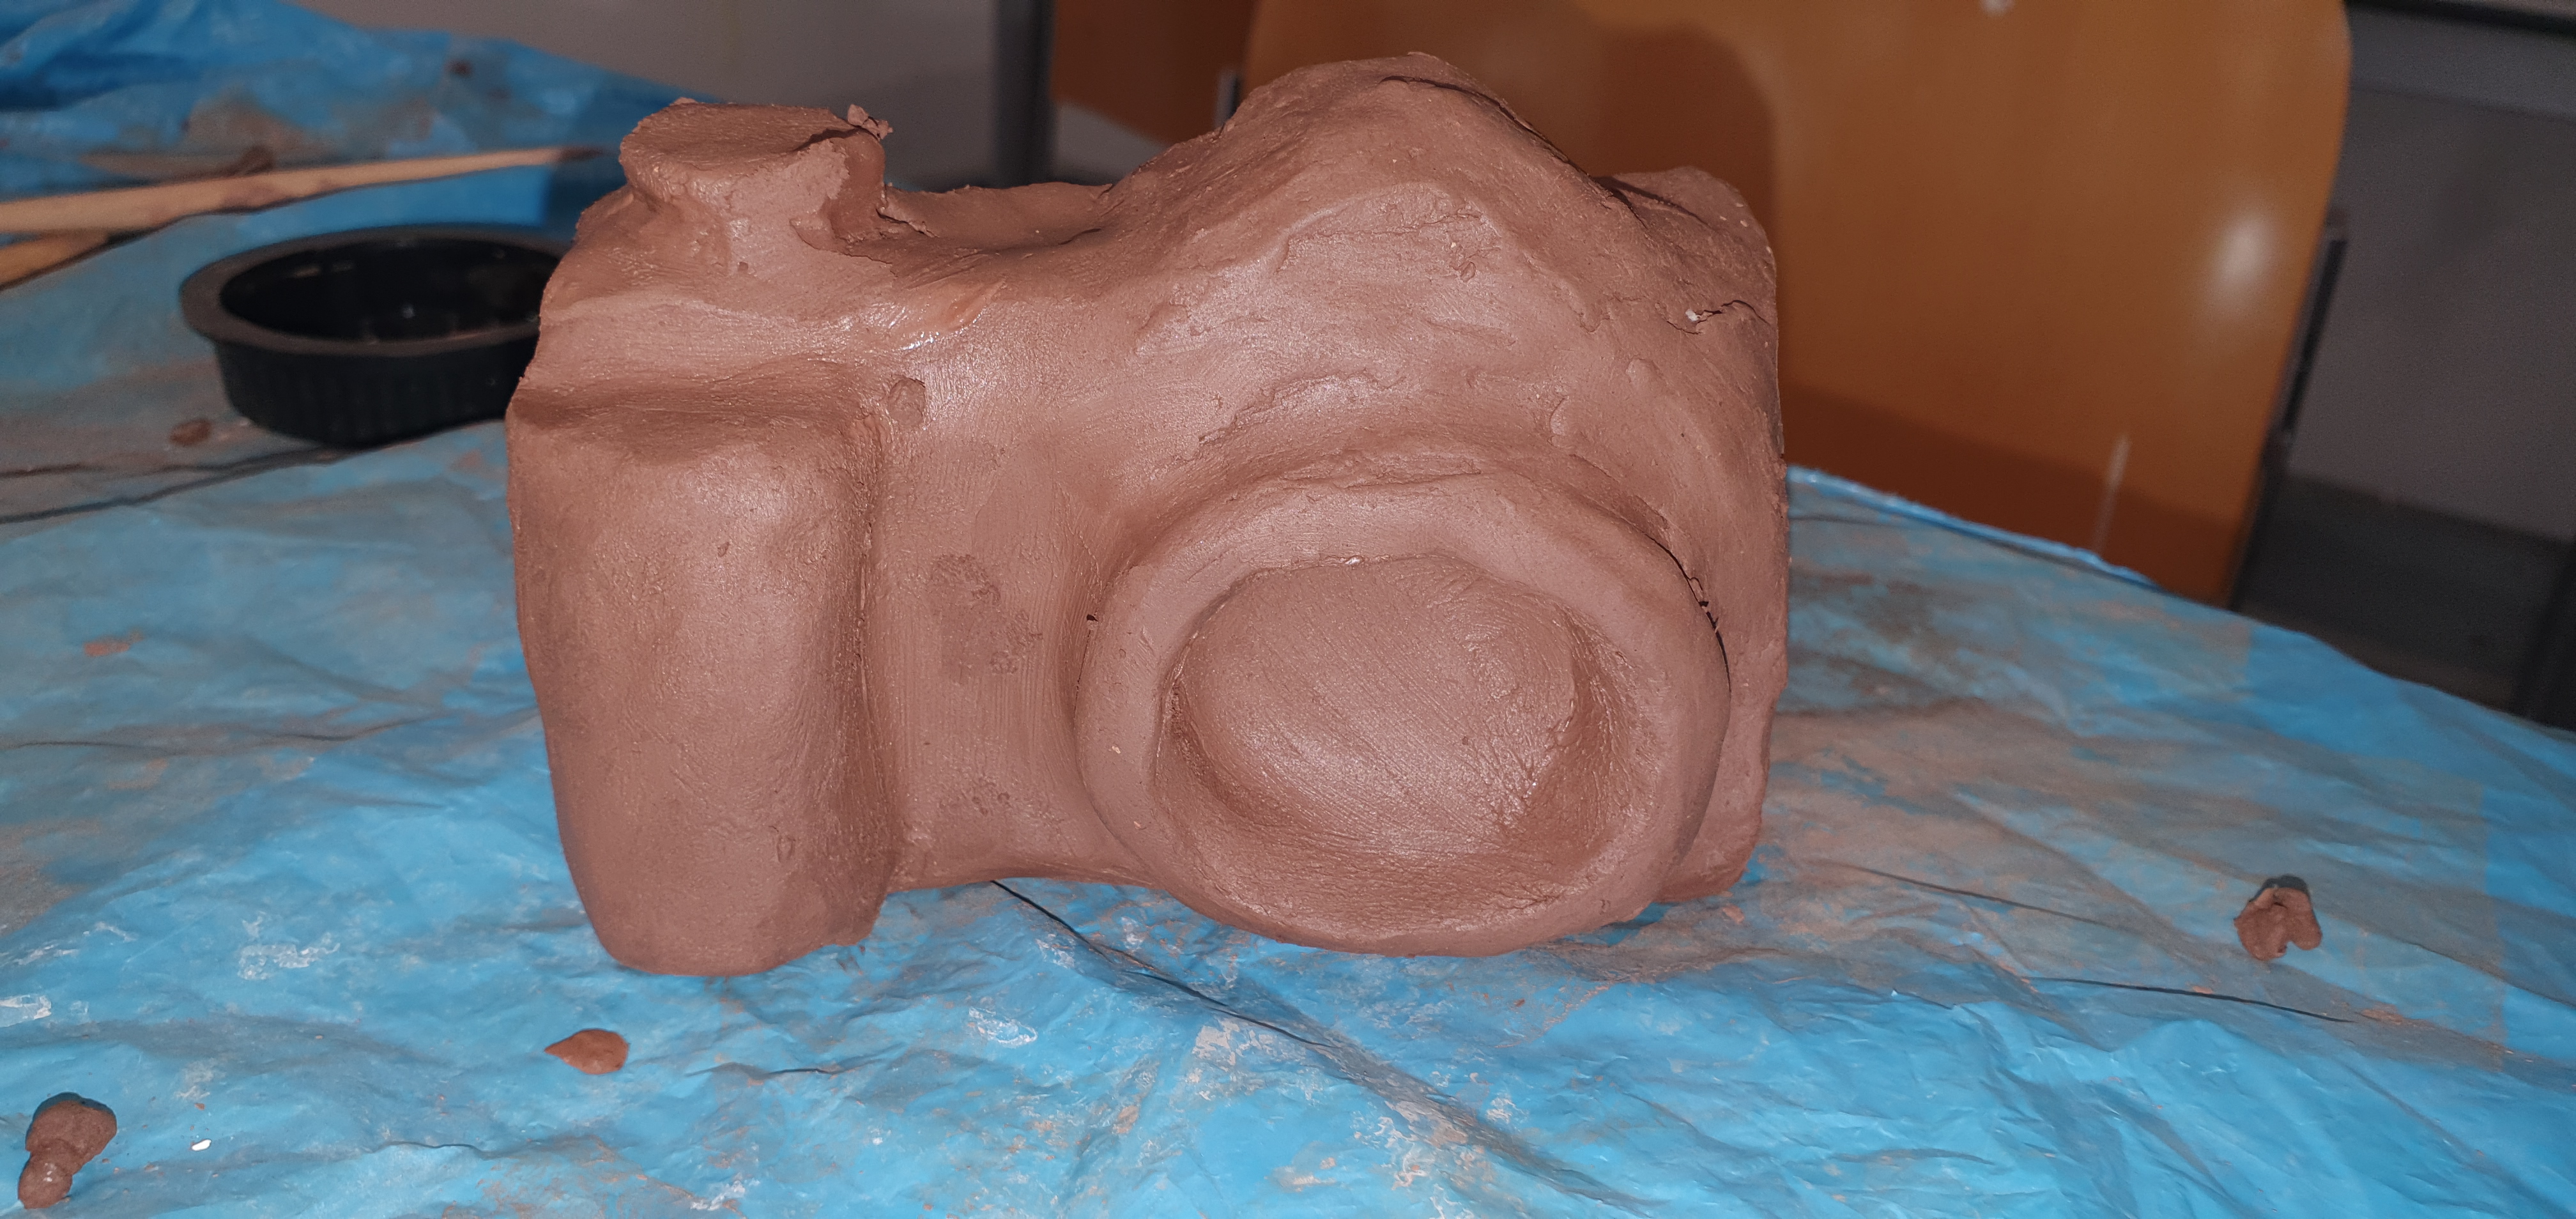
The result, with a little clay around the sides to properly bond the viewfinder on to the body. This ended up bonding really solidly once I’d properly worked the clay in.
The result! Now it’s beginning to look like a camera.
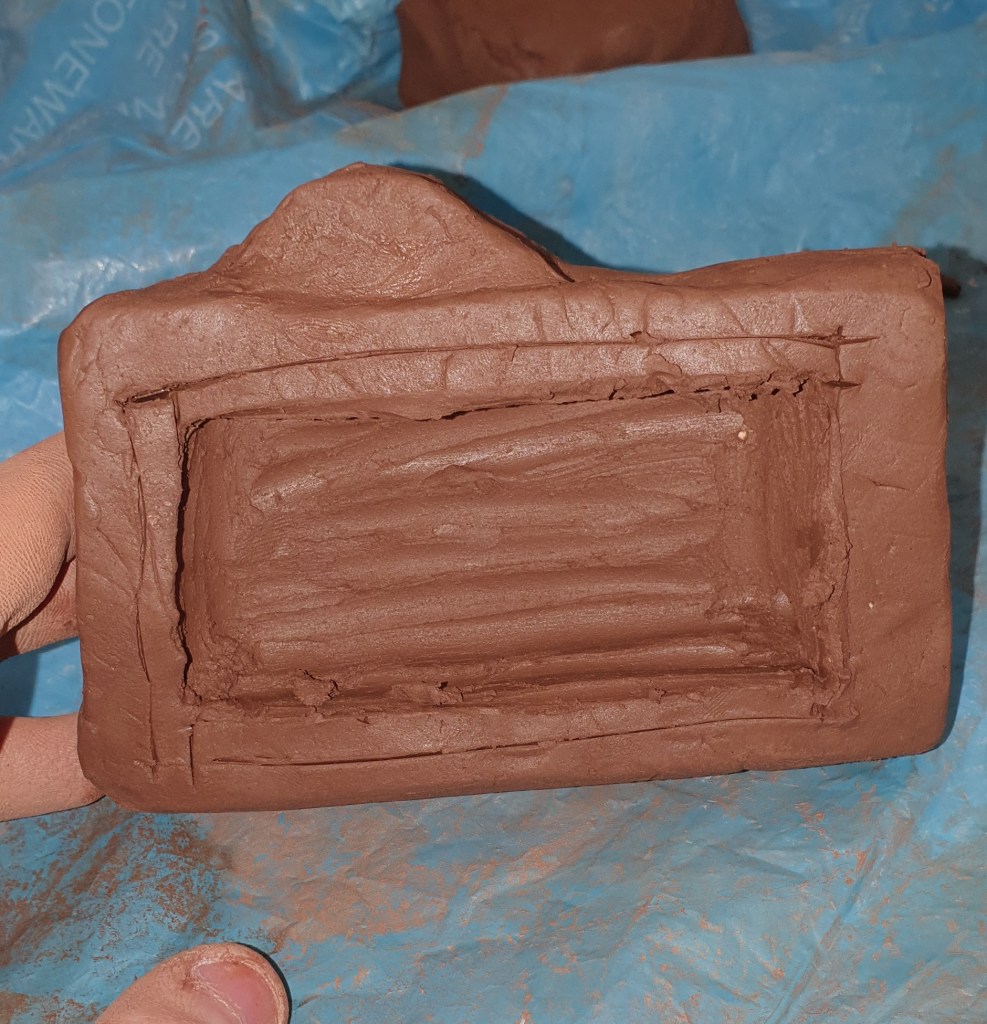
Now we need to hollow out the inside. If we don’t do this, the heat of the kiln will likely cause the piece to explode during firing, which obviously isn’t preferable! You should aim to leave ~6/8th inch of material on each side to be safe, while making sure you port the piece (poke holes to the outside), allowing air to escape.
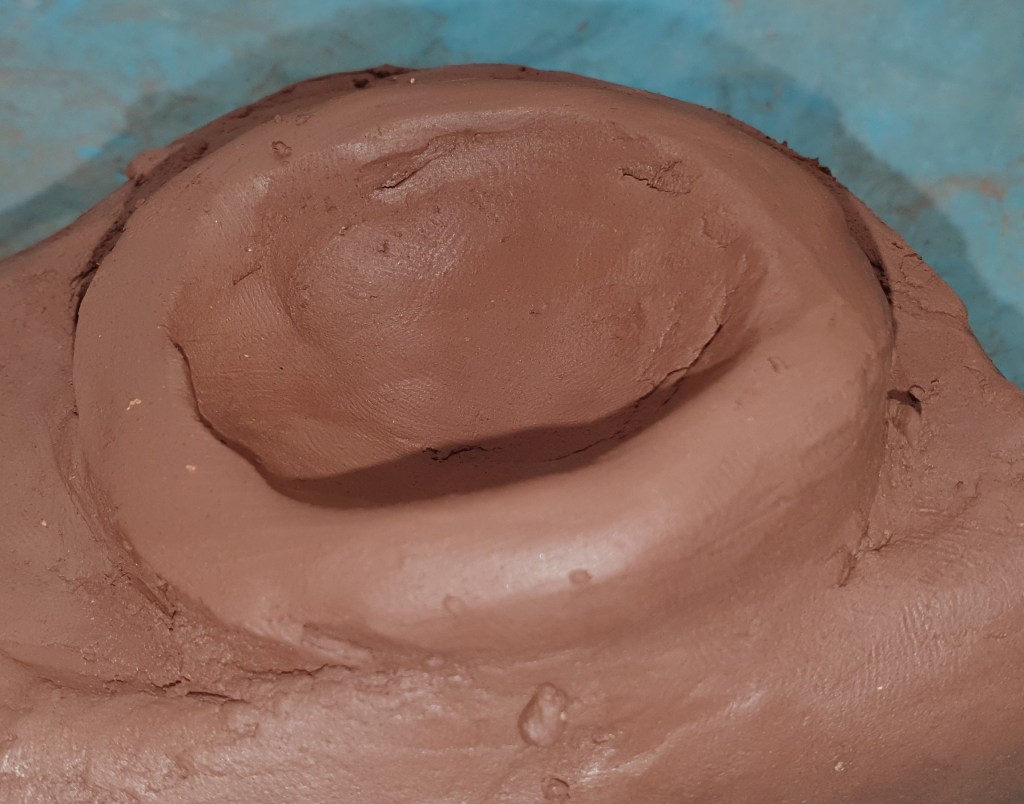
Hollowing out the lens mount now to create a shape reminiscent of a camera mount.
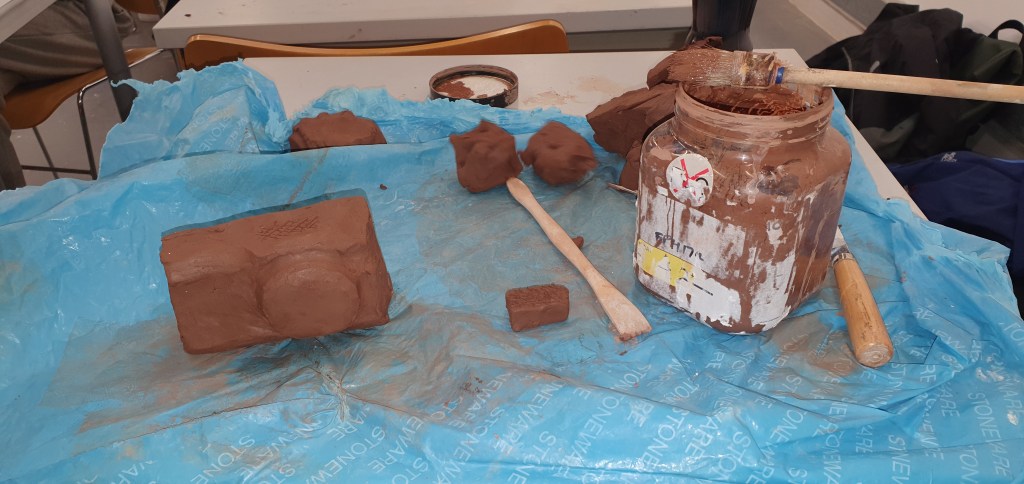
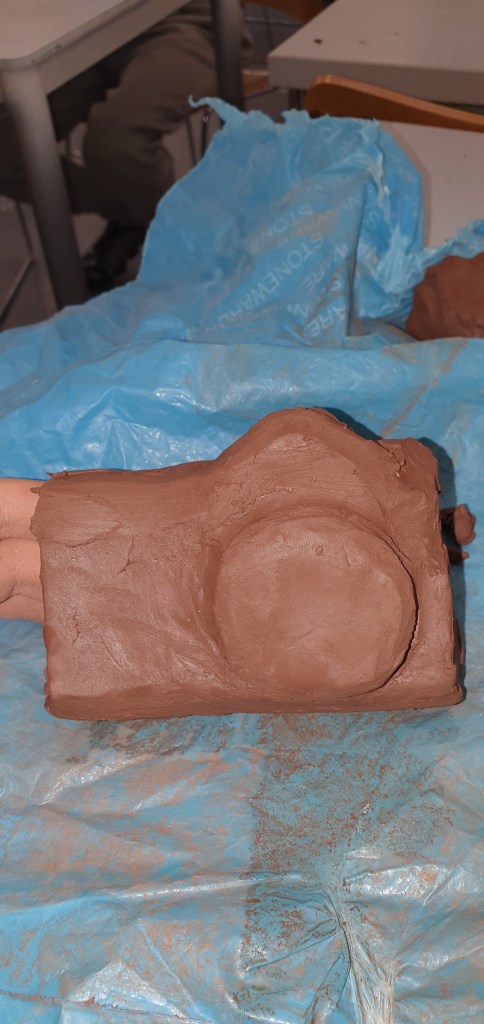
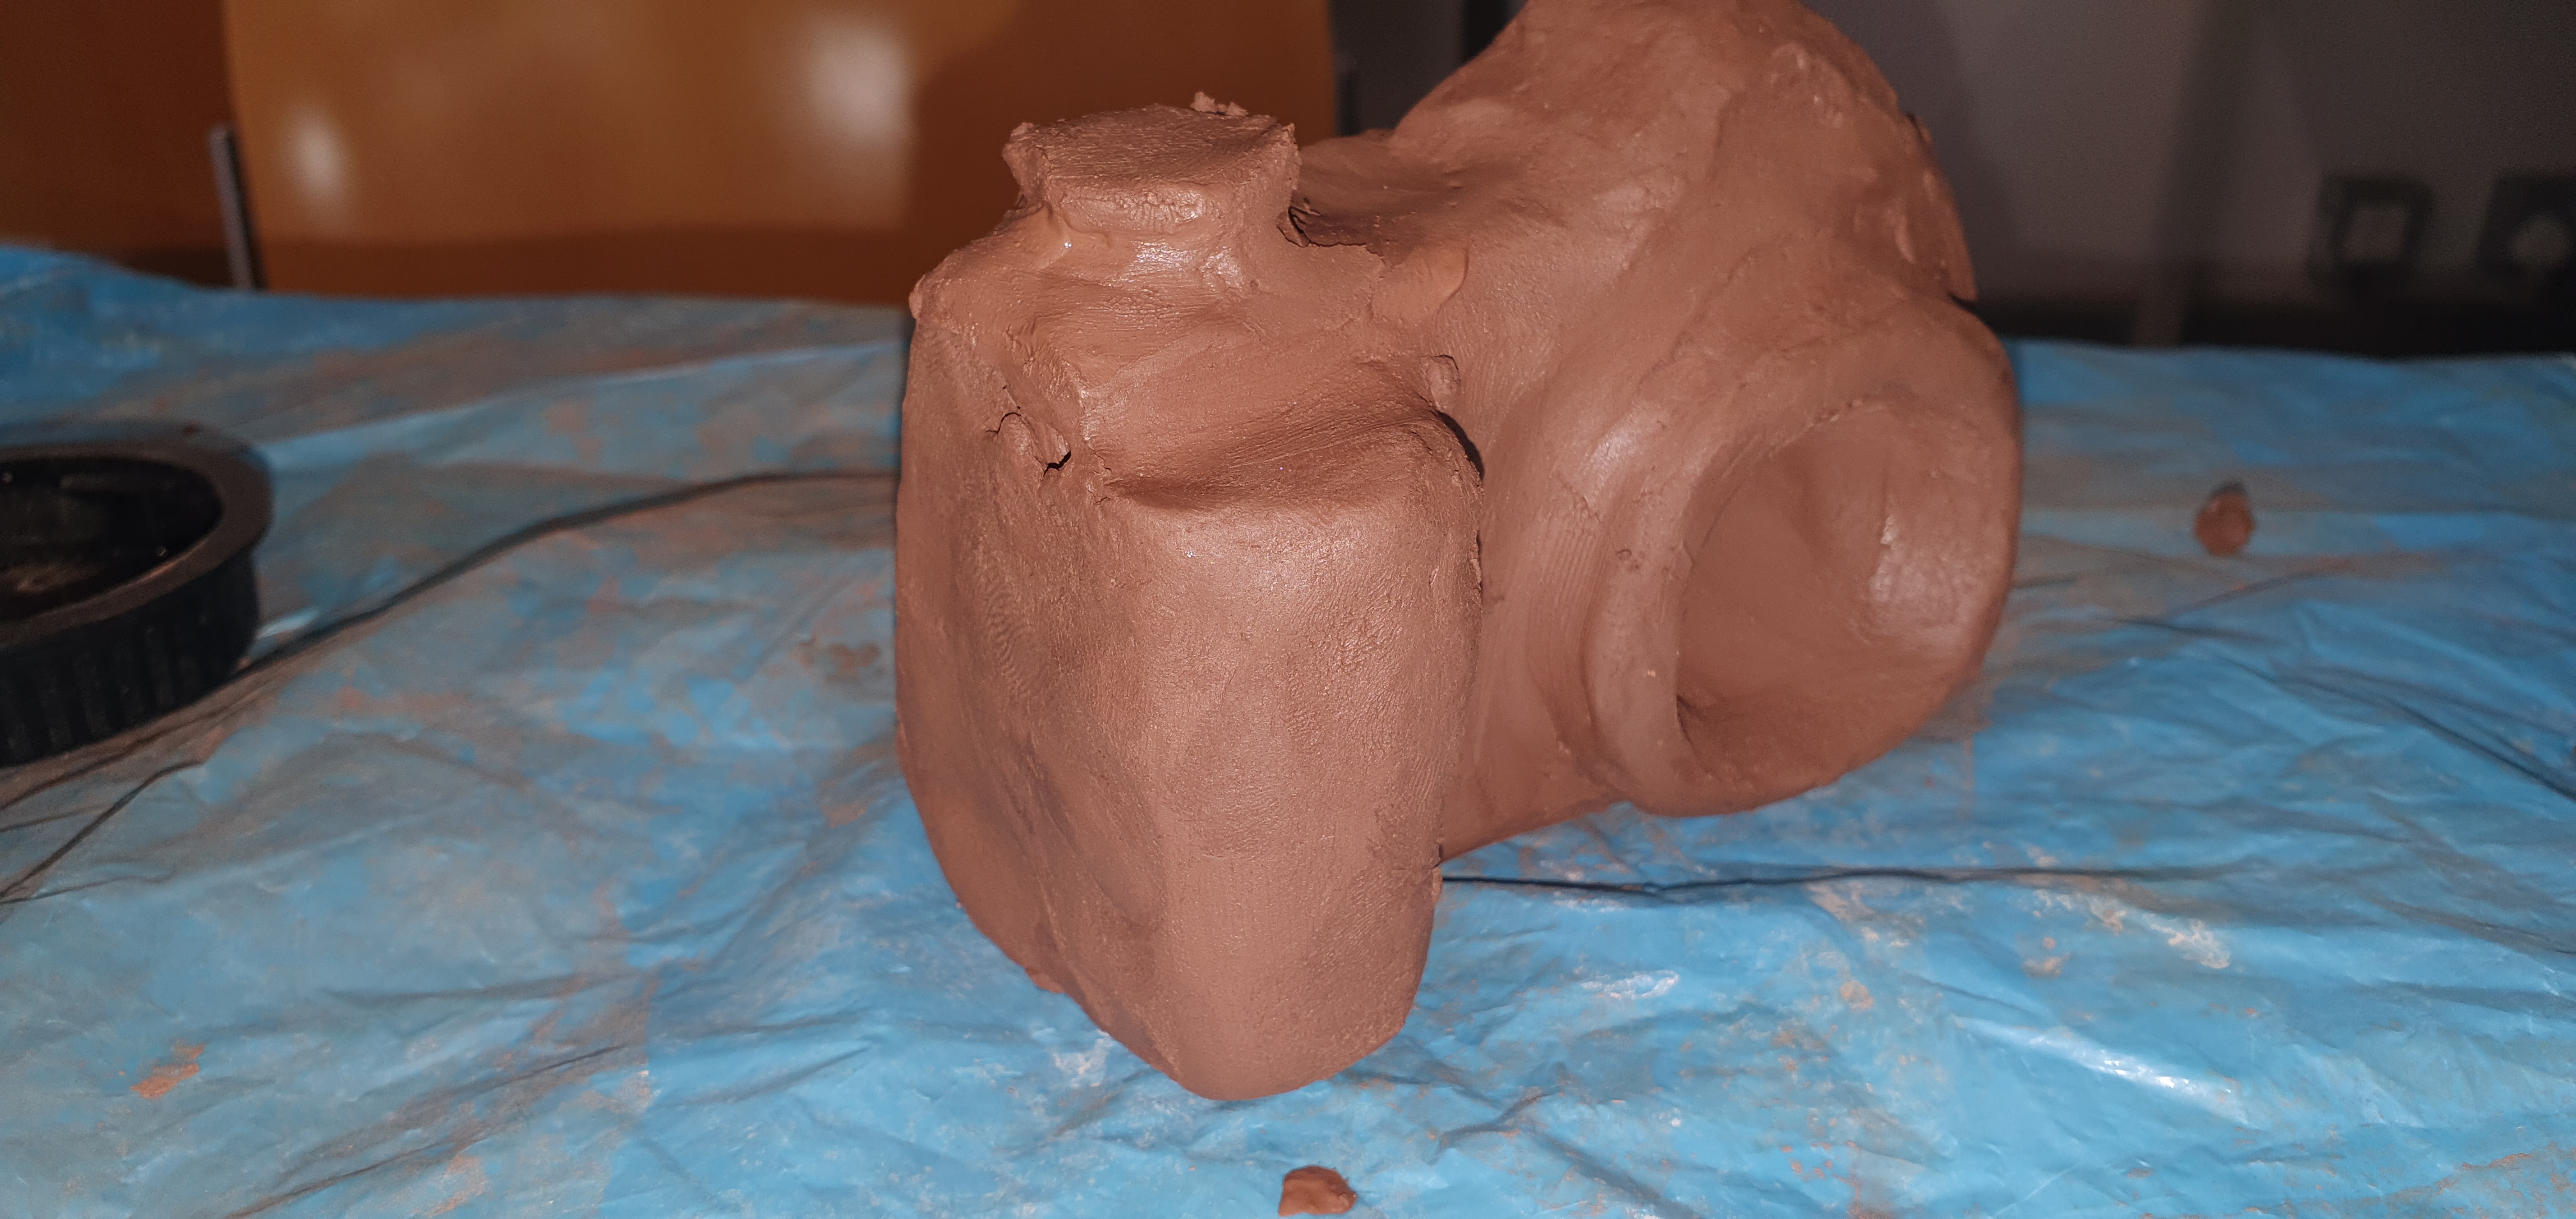
Adding a control dial which would be used for adjusting various settings. This went surprisingly well as well, and attached solidly using the same technique as I did for the flash.
The final results! I ran out of time to make further improvements, sadly, but given the time we had to work with, I think it came out fairly well. Working with clay was fun, and definitely something I’d love to do again!
Pyrography
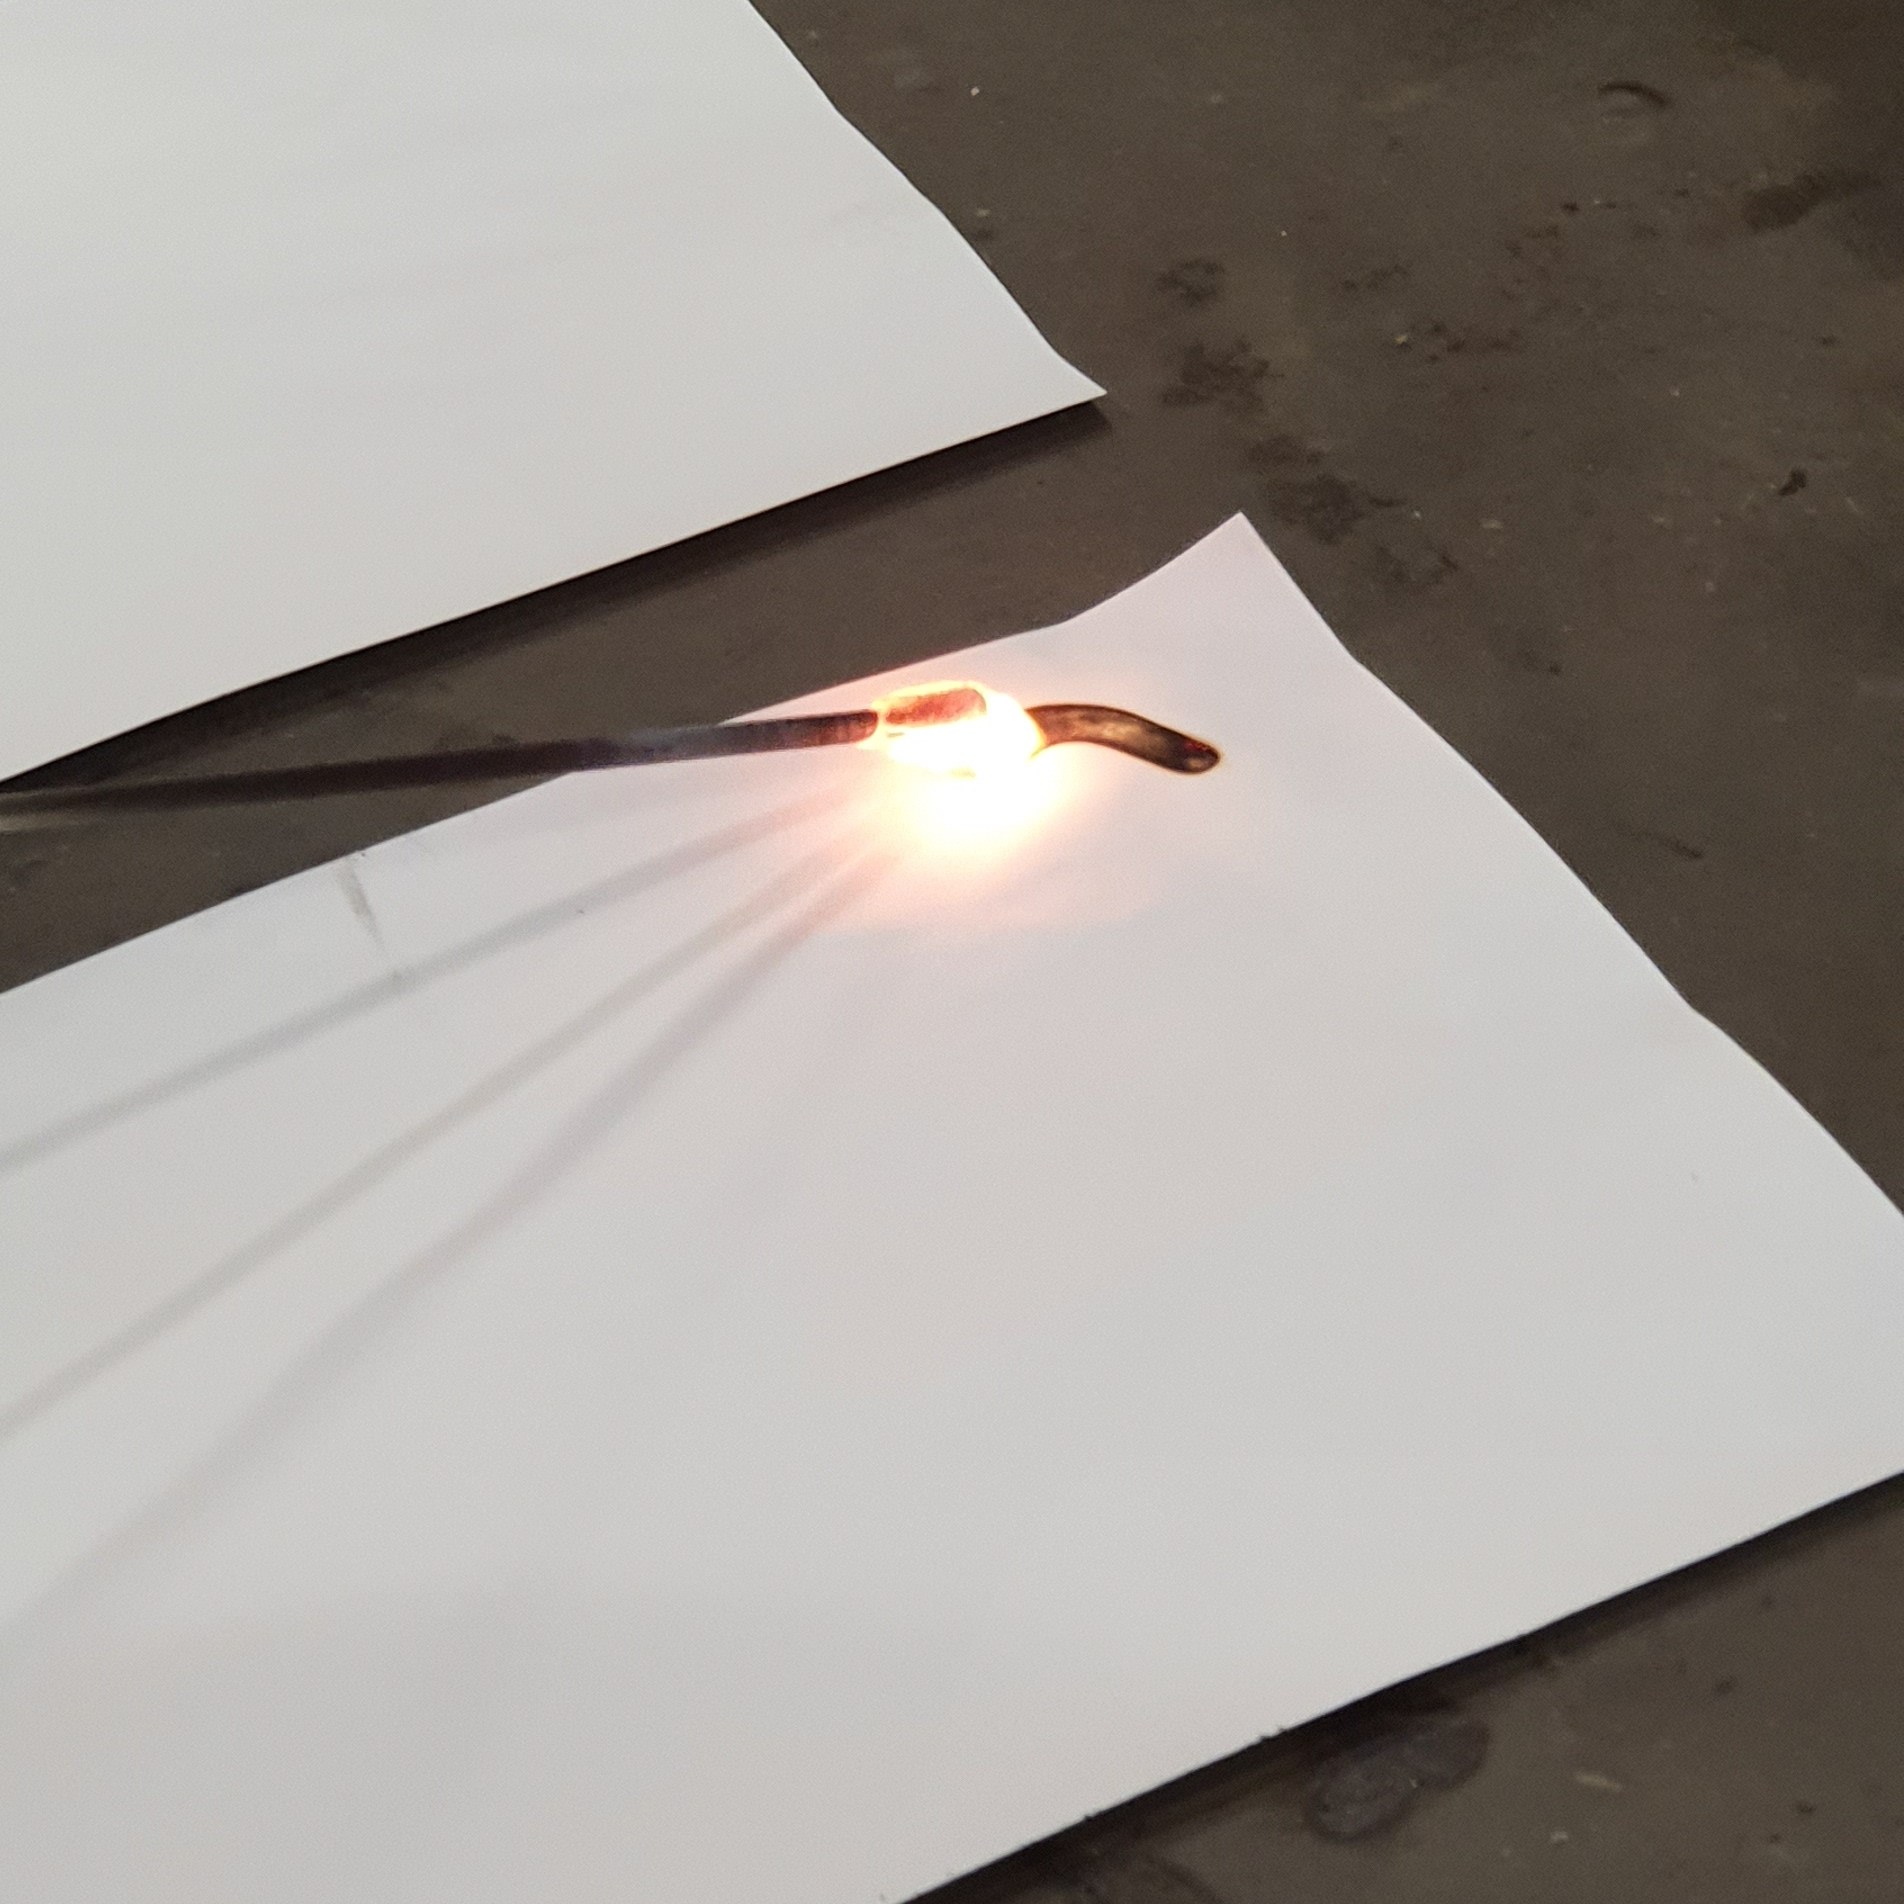
Some pictures from the pyrography session! I sadly don’t have many pictures from this one, however, I can describe the process.
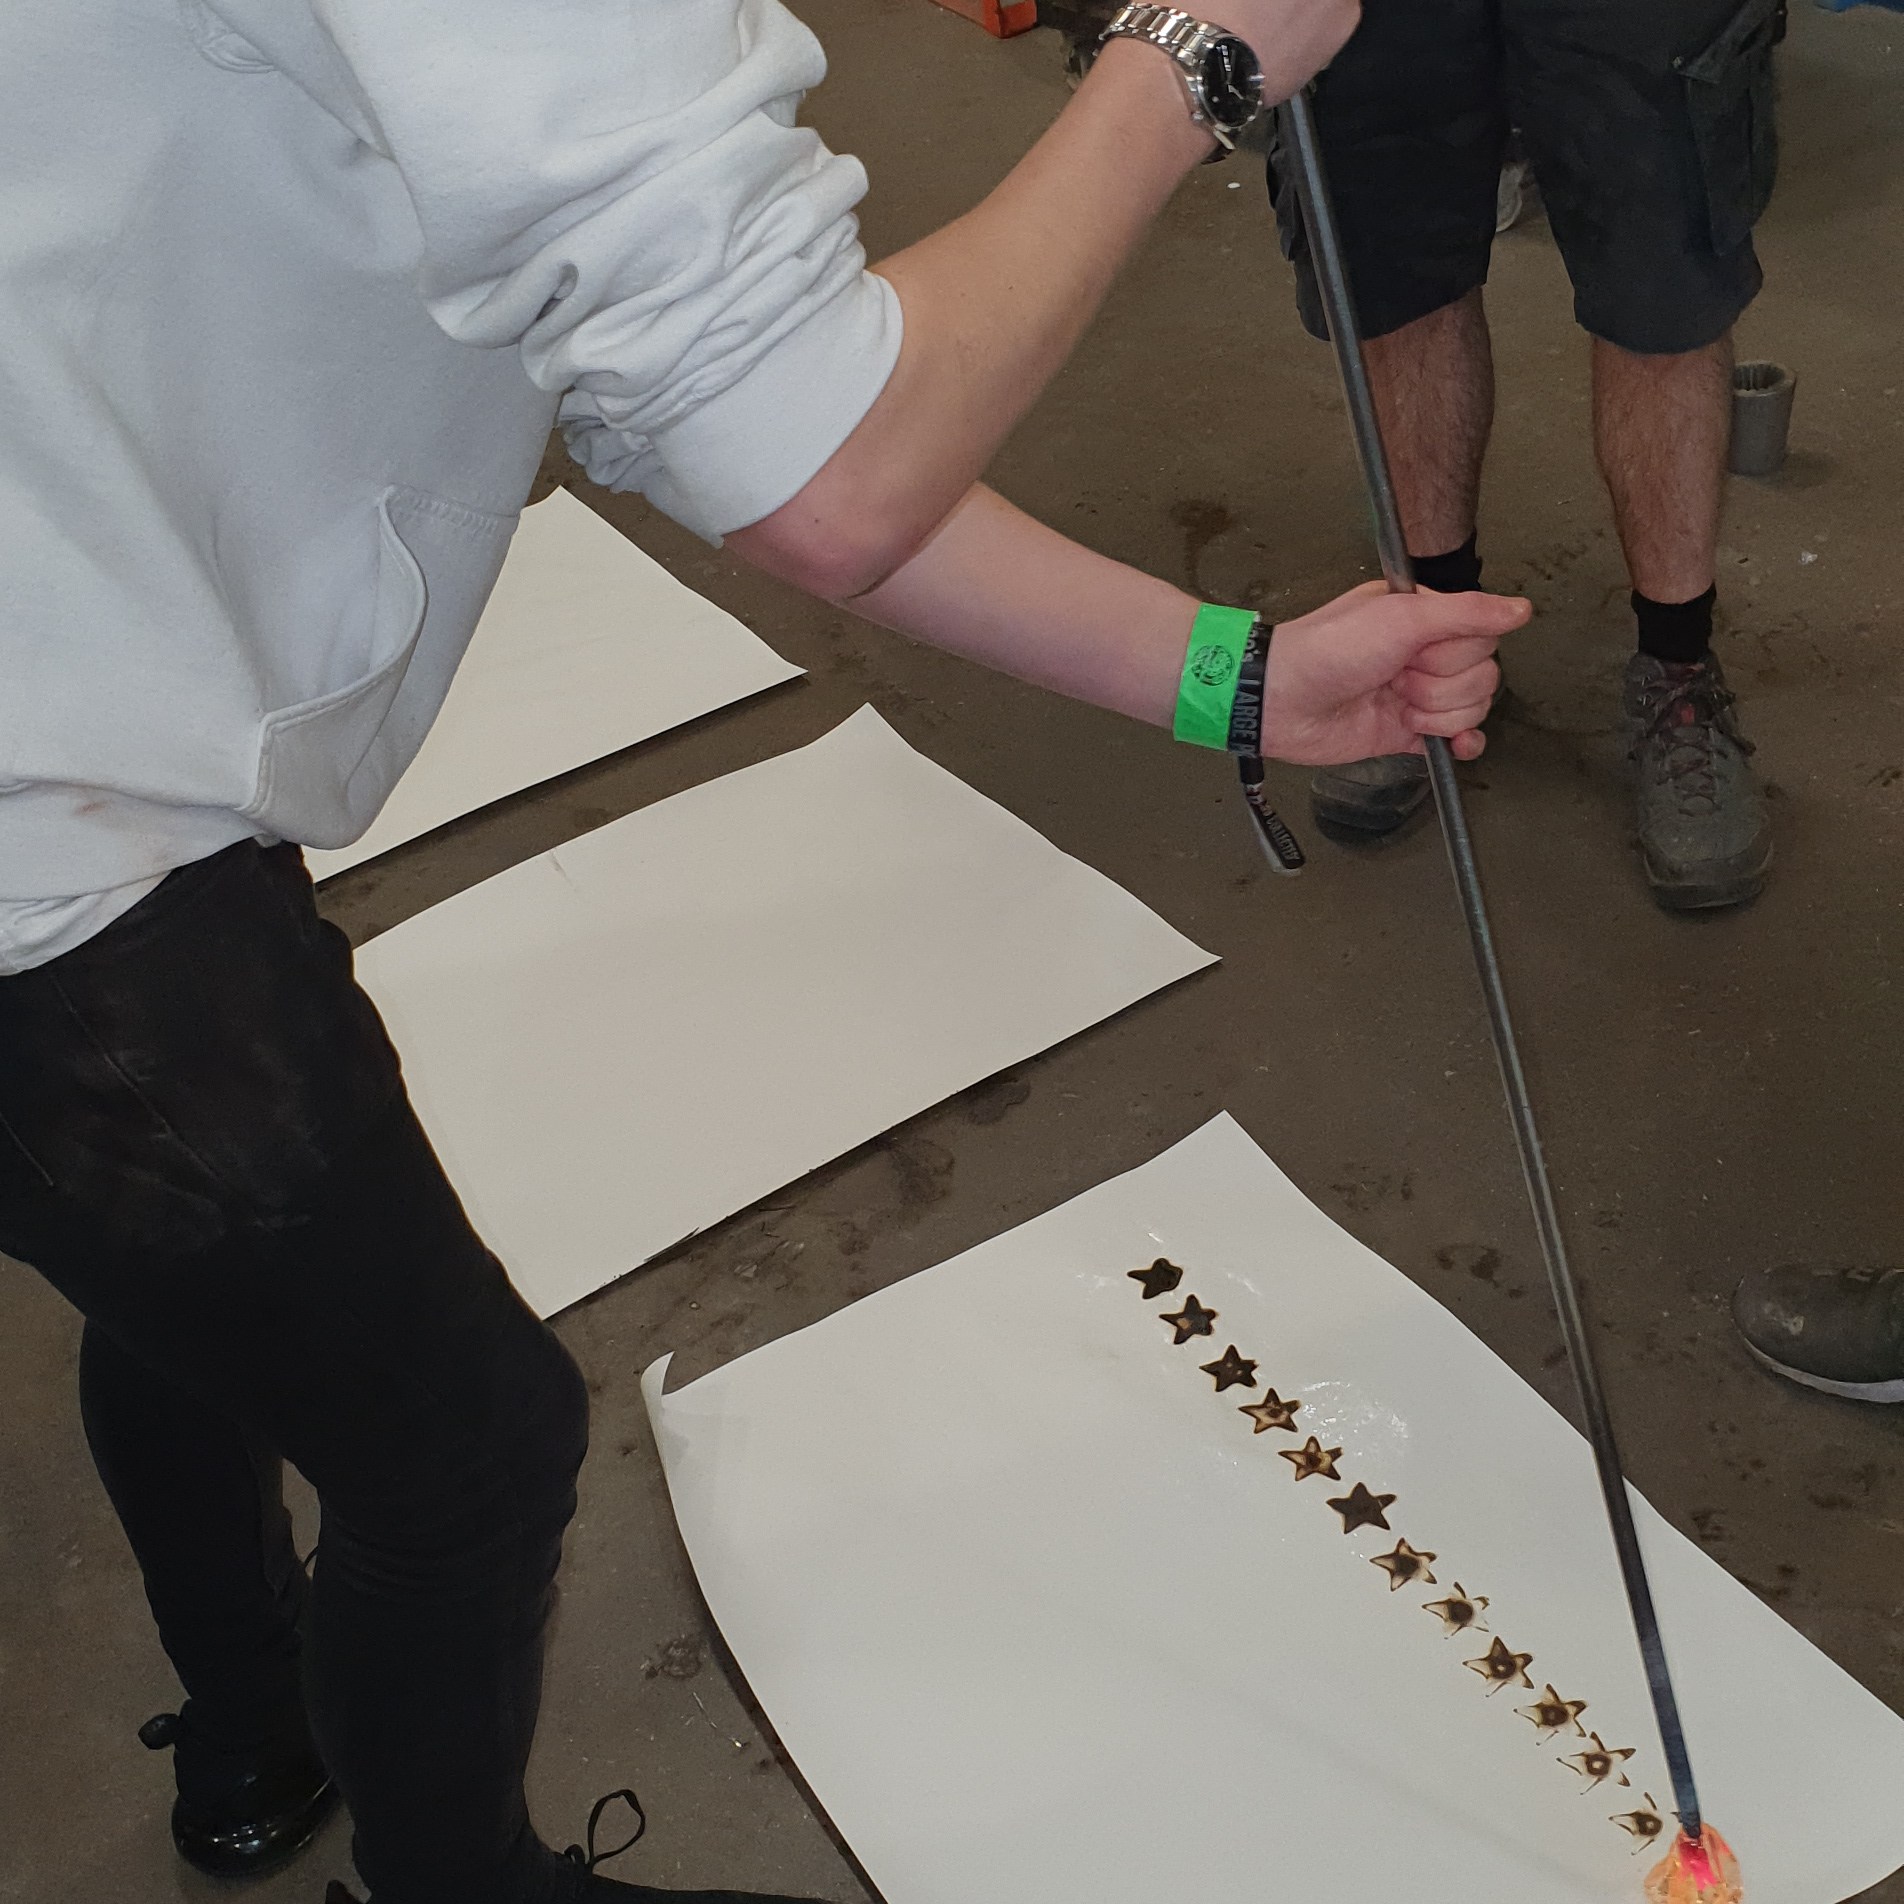
Firstly, you need to lay a piece of paper on the ground and figure out what you want to do; you need to move quickly once your glass is out of the kiln, as it will drip and harden if used without a mould.
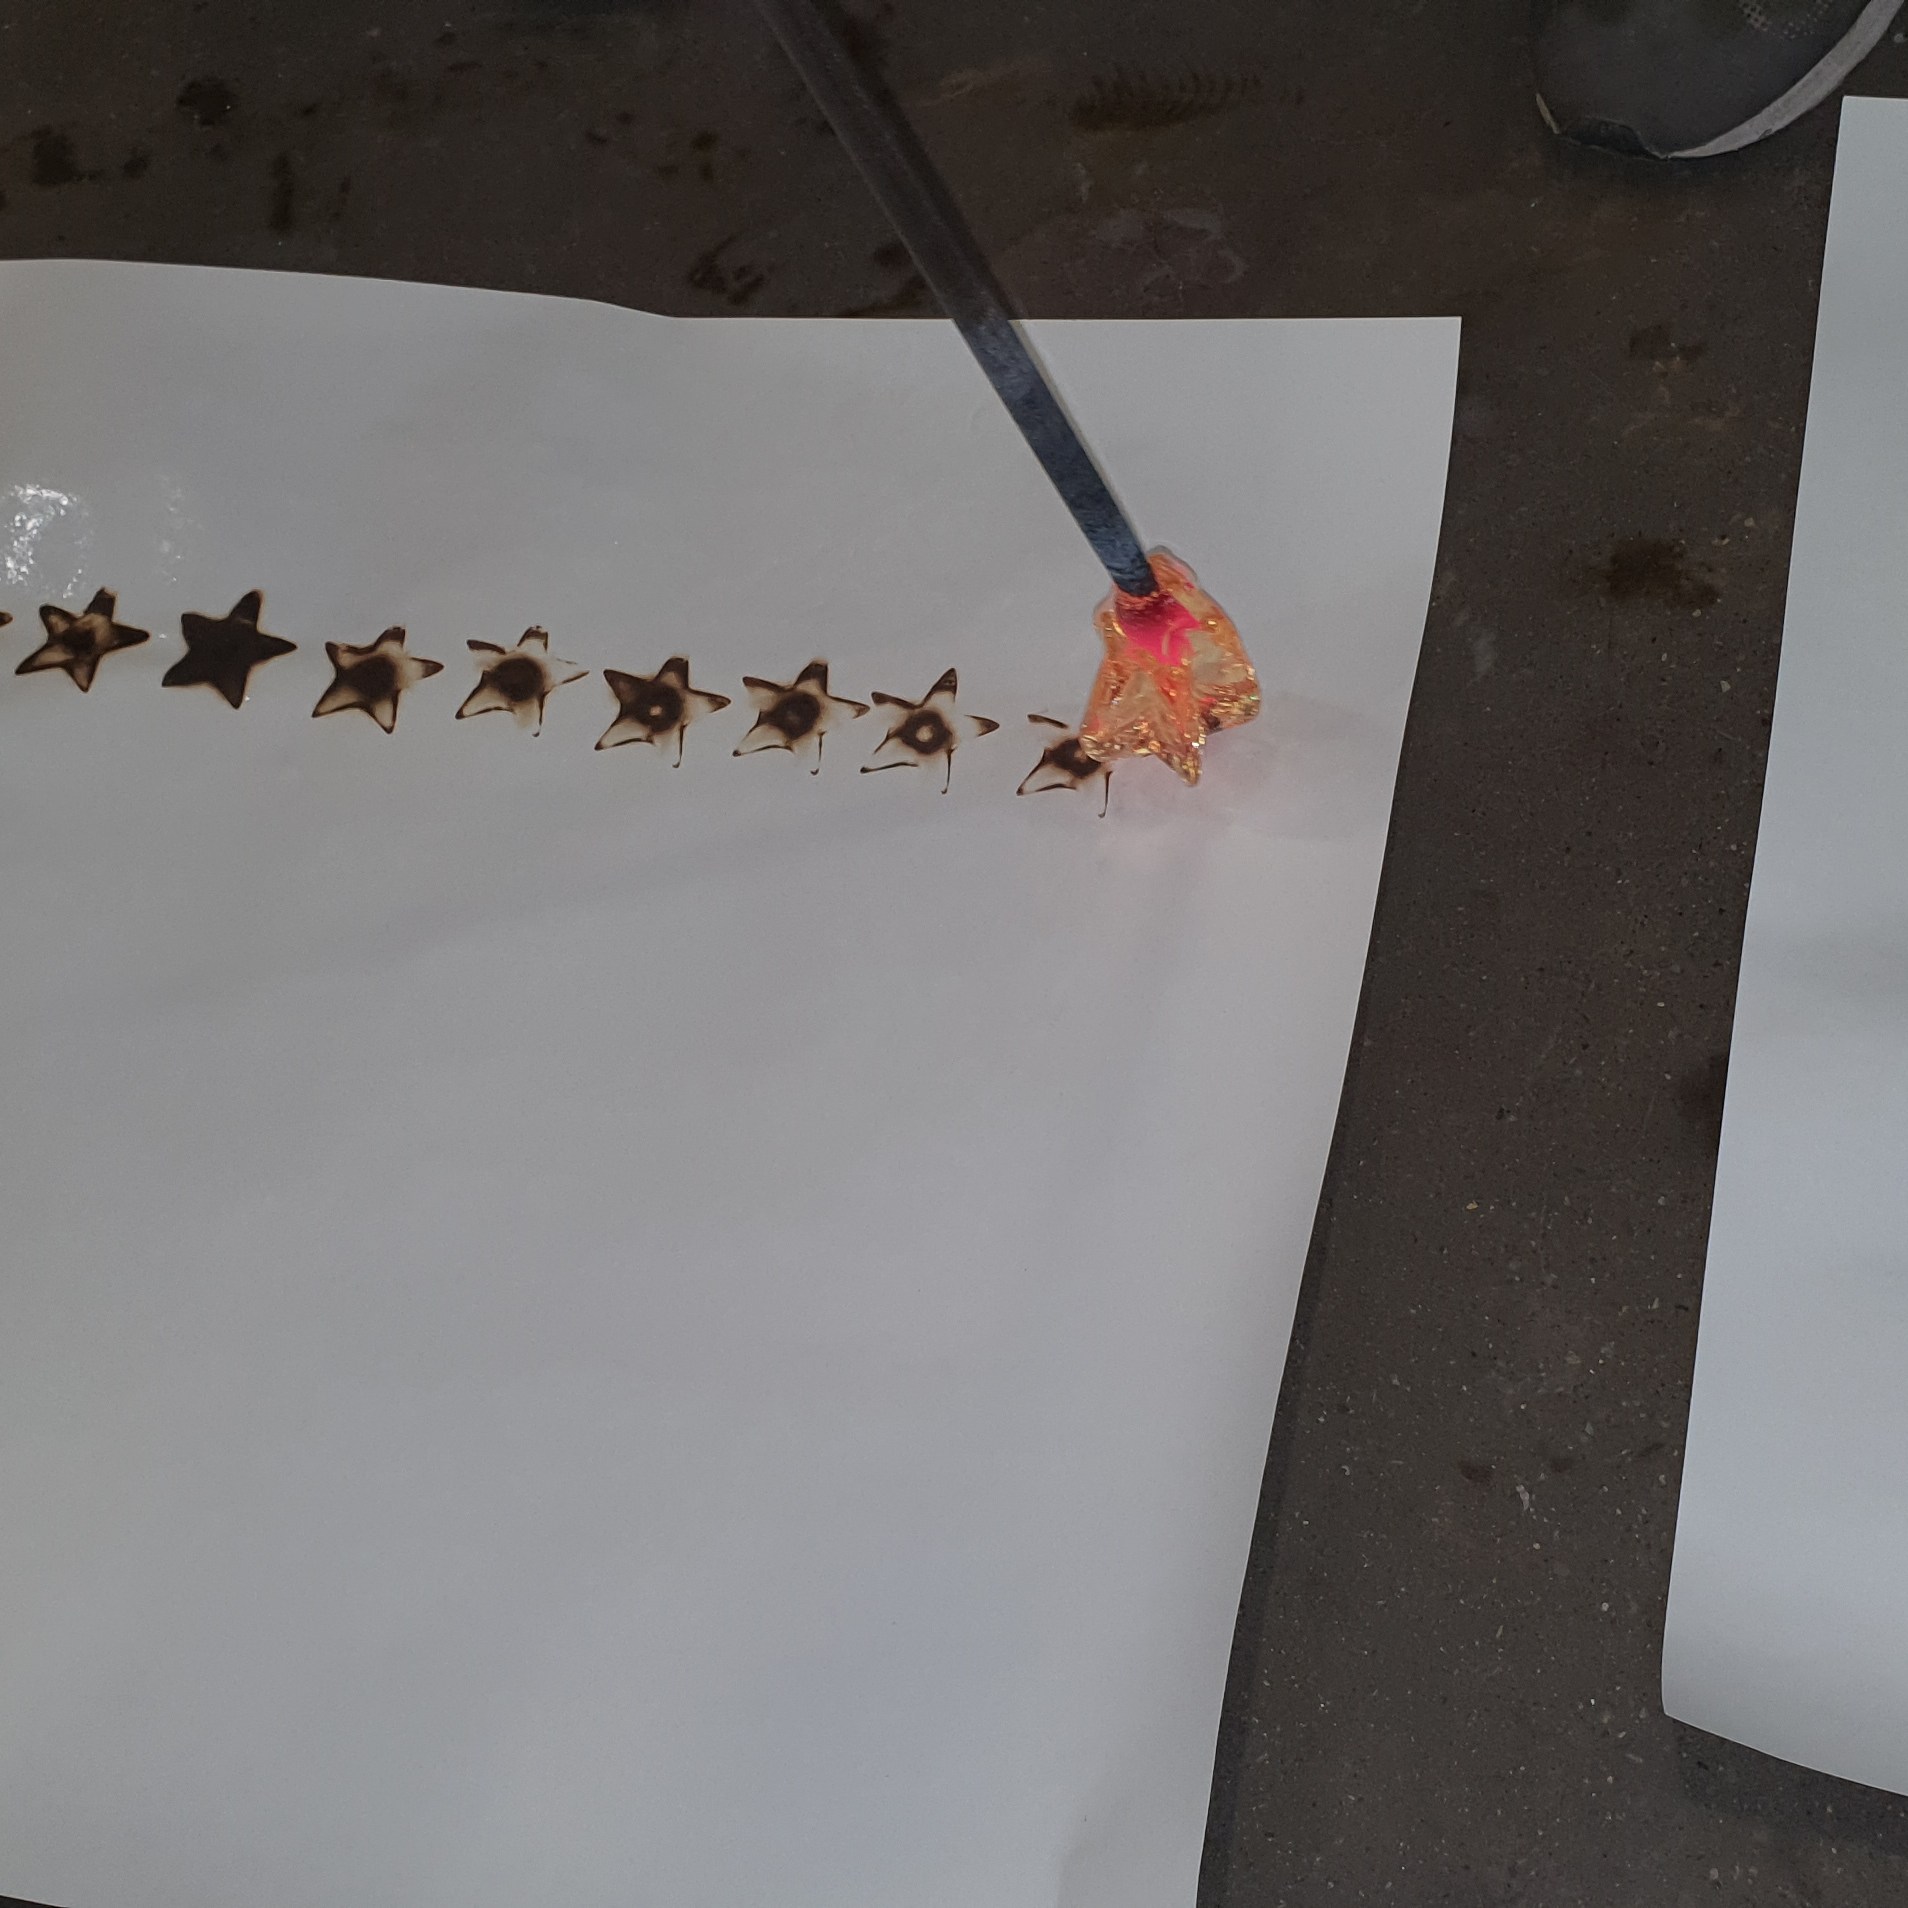
There are quite a few choices, but the ones we had open to us were the use of various star/spike moulds that would create shapes in the glass to imprint on the paper, rolling the molten glass on the paper to create our own, freeform shapes, ‘dripping’ the molten glass on to the paper or we could even try drawing with the glass like a pencil. Most of us used a mixture of these techniques, but many of us we impressed by the effect created by dripping, as well as that with the star shaped mould; it looked a lot like grass whereas dripping allowed us to make more elaborate shapes like names or even signatures, in some cases.
Jim, the technician in charge of the kiln room at that point in time, would push a metal rod deep in to the kiln and dip the end of it in glass, spinning it to create a ball of glass on the end of the rod. The rod would then be handed to us, and we had to hold it carefully in order to avoid the hot points on the rod that would cause us to burn ourselves.
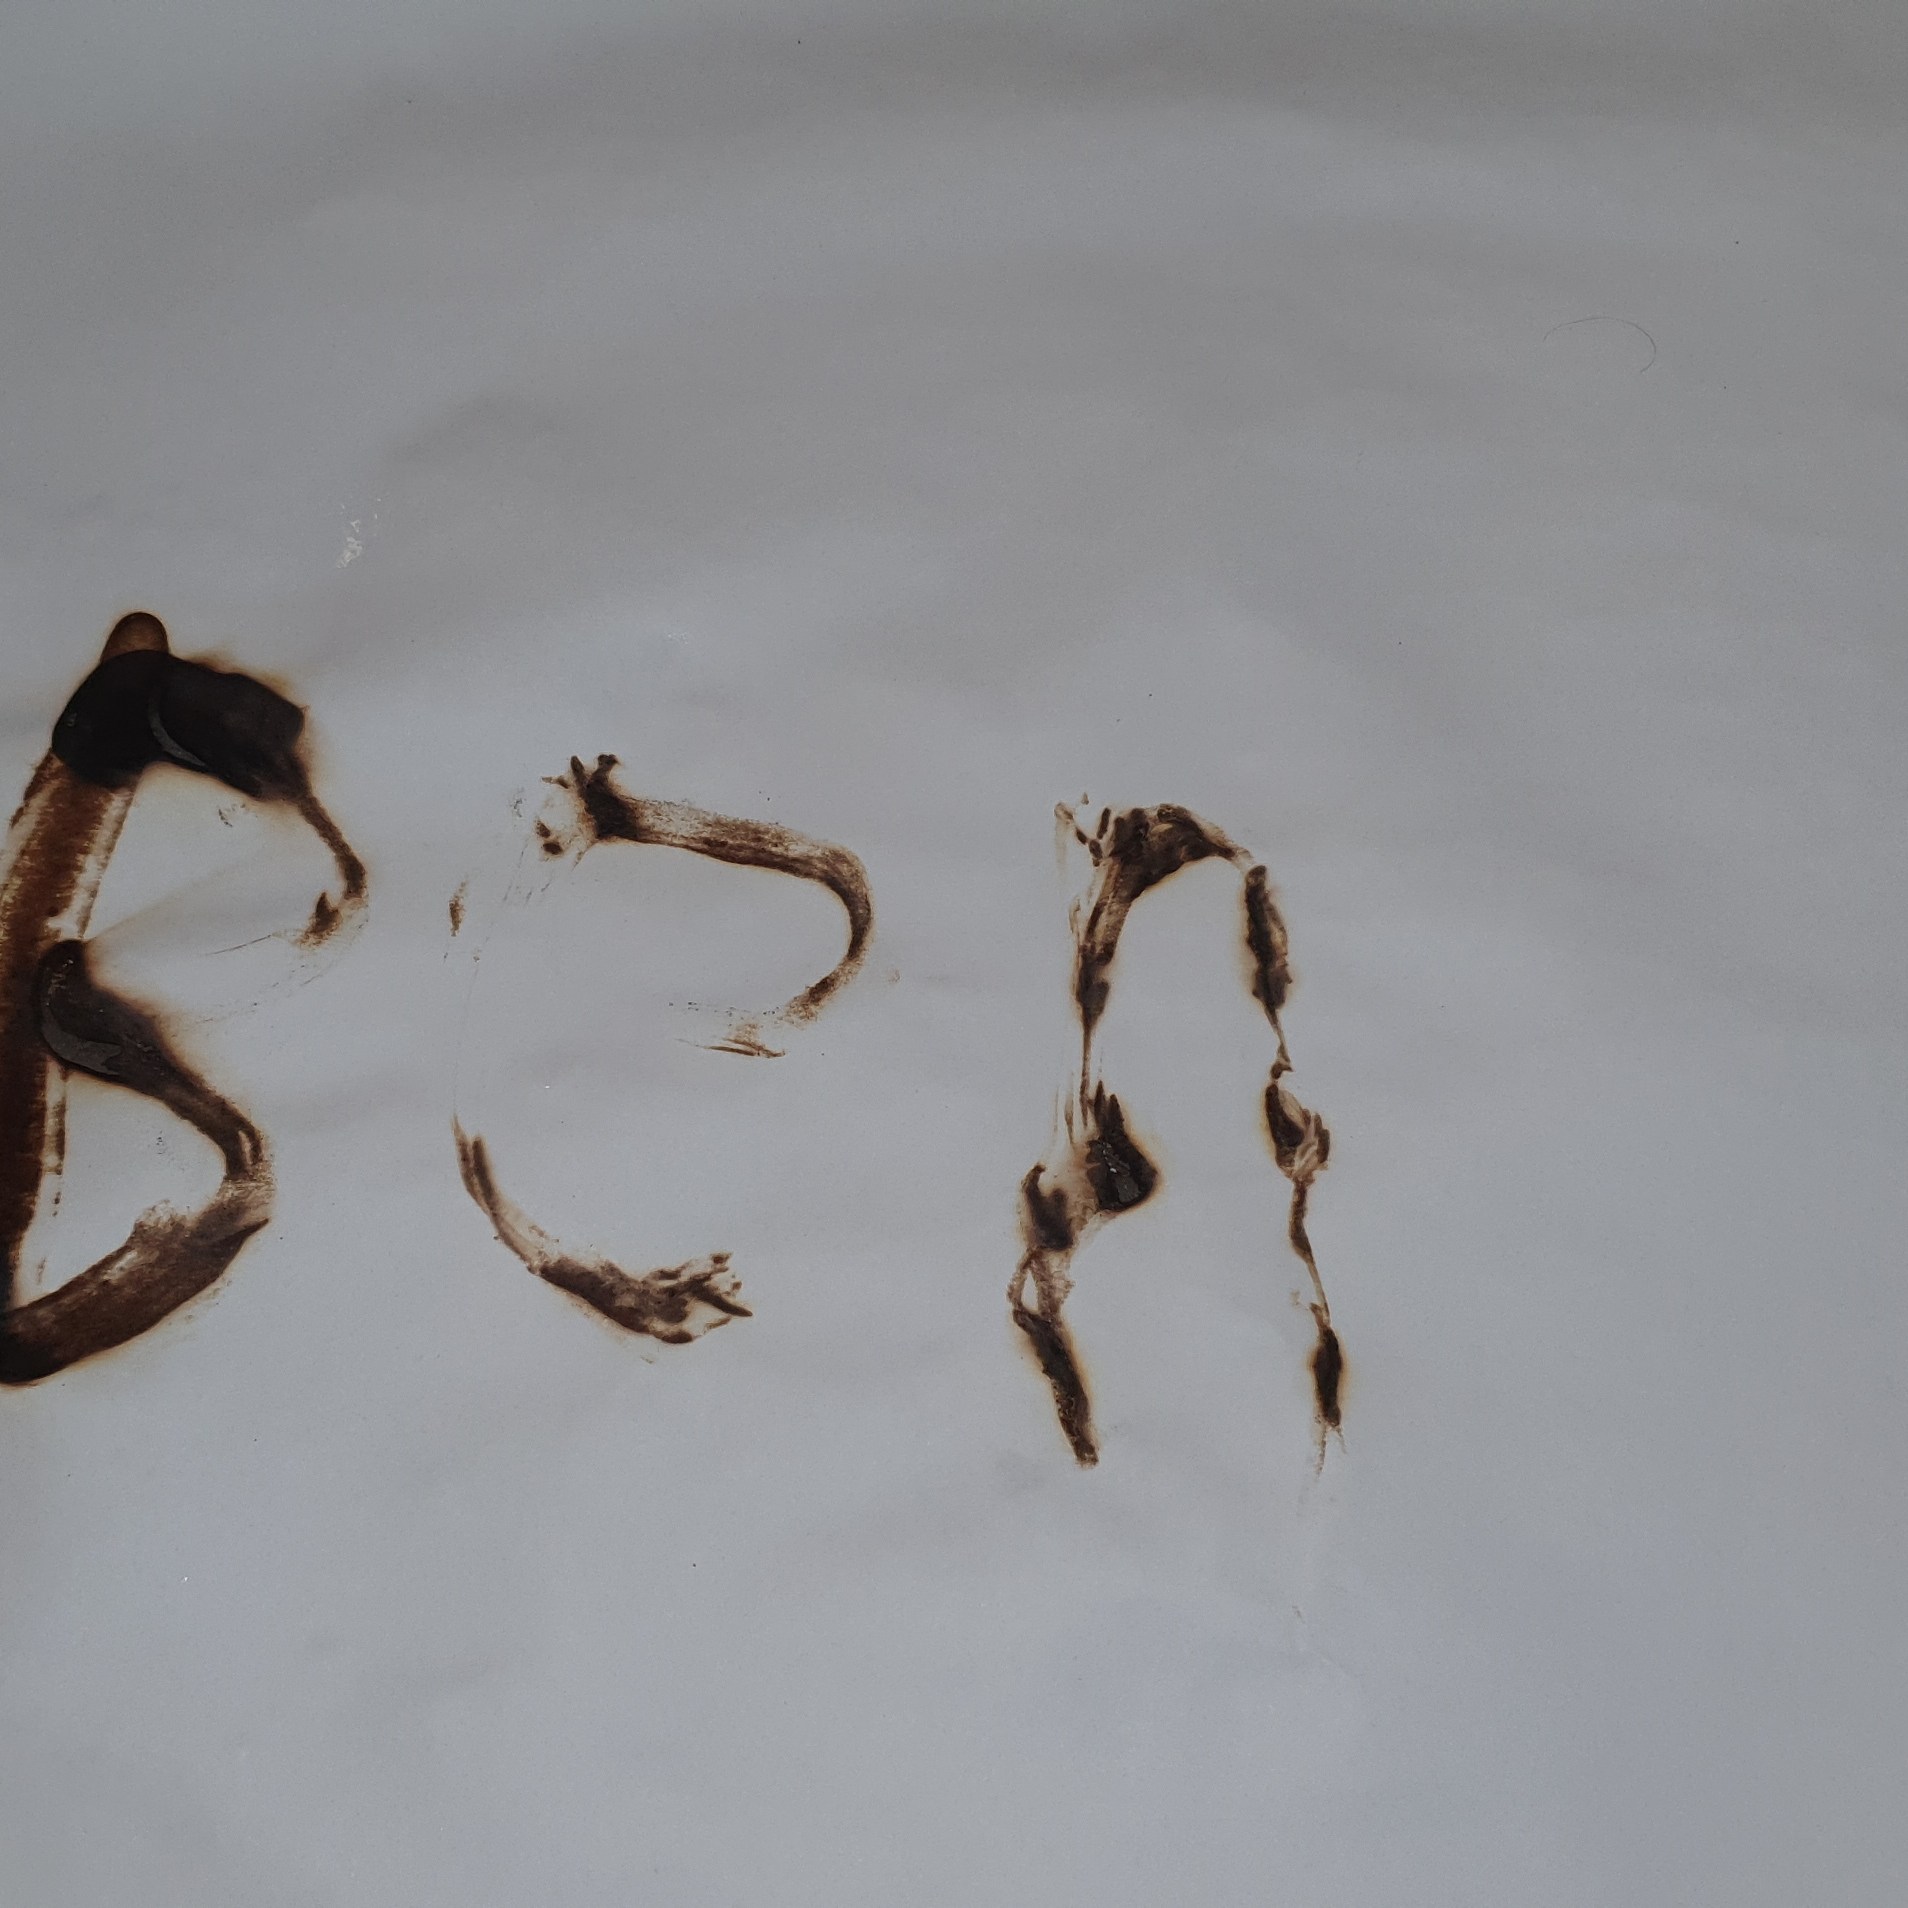
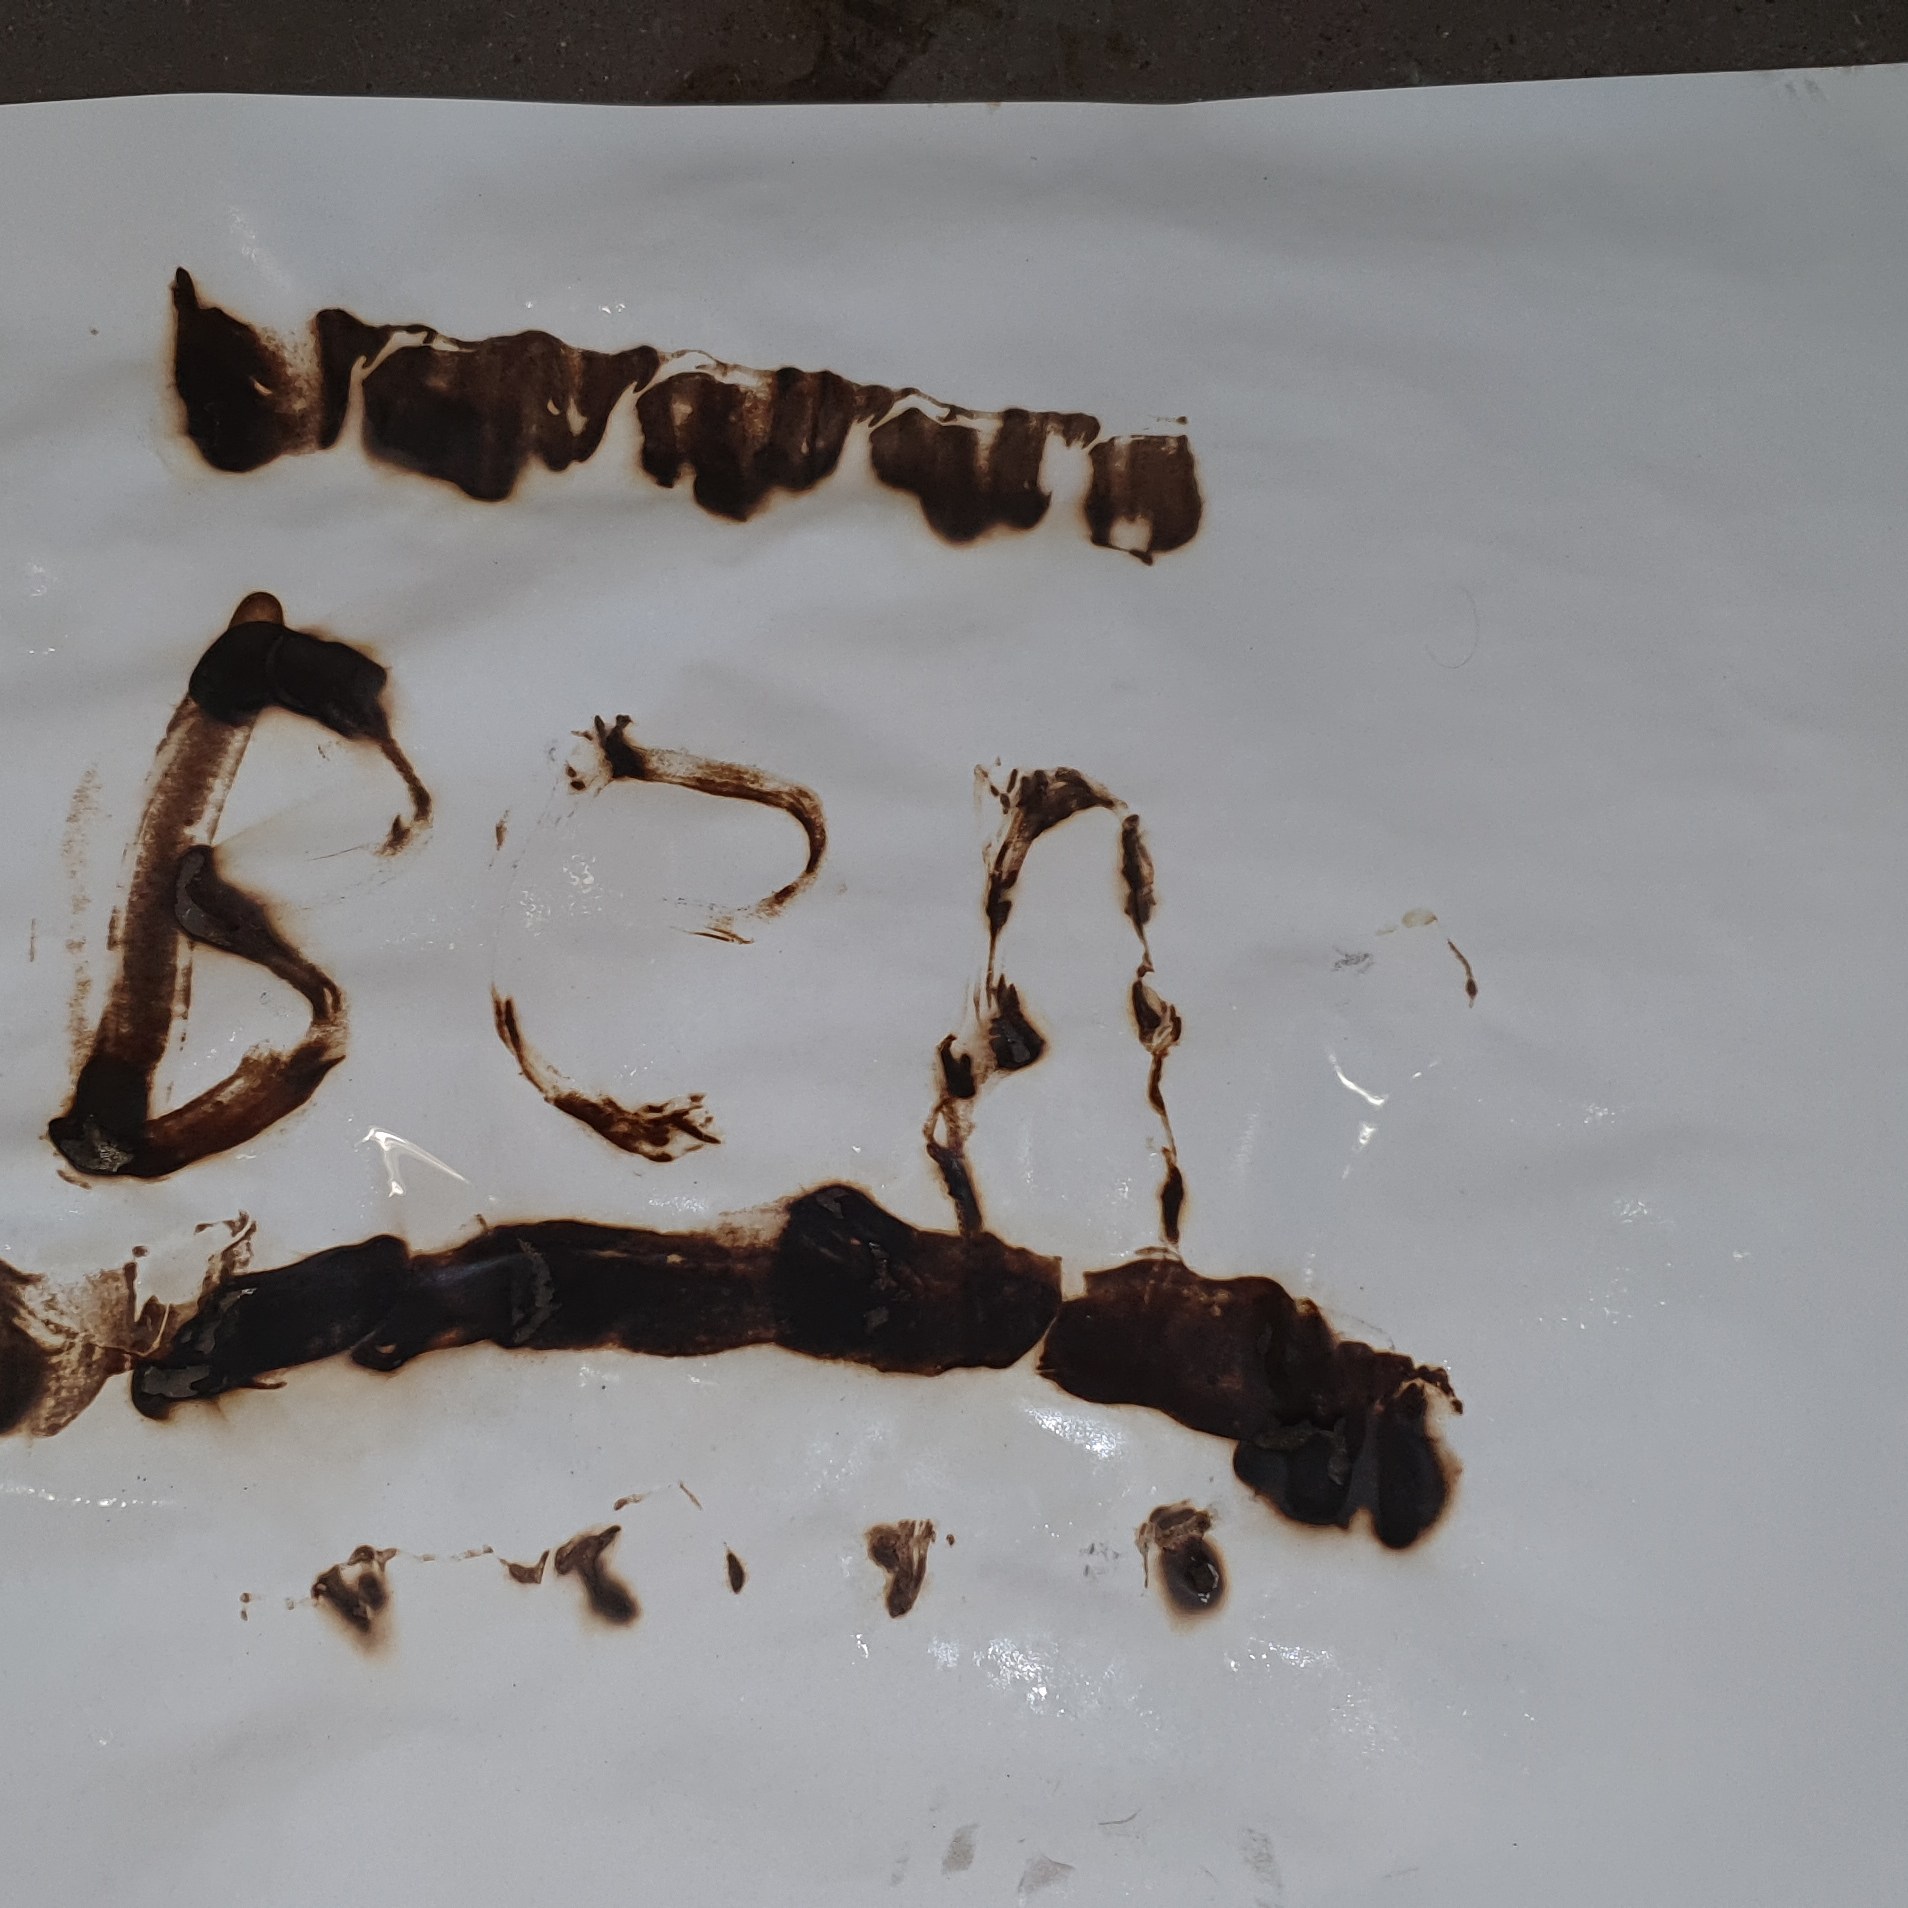
It was at this point that we could use the methods described earlier to do whatever we wanted on the A3 sheet of paper. I decided to try and write my name on the paper, which I thought would be simple; the texture of the glass however is a lot more gloopy and thick than you might expect. I managed to get my name down on the first attempt, then I waited for everyone else to take their turn.
On my second go, I decided to use the star-shaped mould to try and underline my name (and as it happened, I did an overline too); a picture of the result is in the gallery below, with some other pictures showing the process!

Thanks for reading blog post surrounding Clayworking and Pyrography! If you enjoyed, please subscribe to my mailing list to be notified of further posts. Thanks for reading, and have a good day!
